When running experiments online, participants can take part using a wide array of laptops, desktops, and tablets, all of which have screens of different sizes. They differ in two distinct (but related) ways: resolution (how many pixels there are in each dimension) and aspect ratio (the ratio between the width of the screen and the height of the screen):

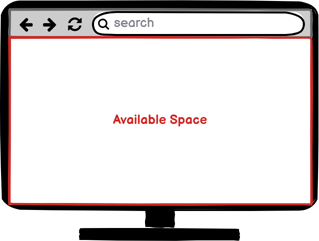
Furthermore, when running in a browser, we don't actually have the full screen available to us - some of it is taken up by the browser UI itself:
Across all these different permutations, we want the layout of our task to be consistent, so that participants on different screens have as similar an experience as possible. Gorilla has two features that solve this: the stage and a proportional coordinate system.
The first step is to abstract away the different aspect ratios. In the Task Builder, all elements are positioned within a virtual 4:3 area that we call the stage. Any extra screen space (usually off to the sides on a landscape screen, but at the top and bottom on a portrait one) is just left blank. The stage is simply the largest 4:3 ratio landscape box that we can fit on the screen:
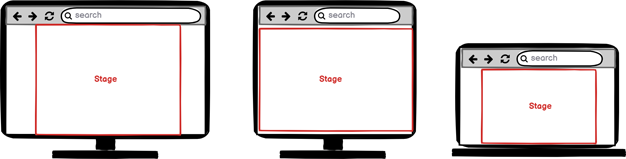
By positioning all elements on the screen within this stage, and ignoring any leftover space, we can effectively treat all screens as if they have the same aspect ratio. This keeps the relative spacing between elements the same, and ensures that elements won't get bunched up on smaller screens or spread out on larger ones. You can see the extents of the stage in the tools themselves:
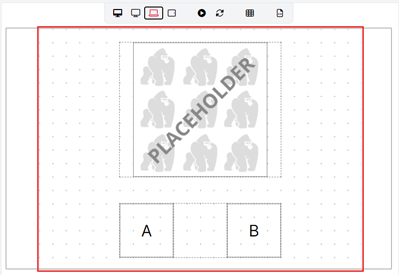
Sometimes, we need several objects to appear on top of each other. In this case, the order of the objects in the Object tab matters: objects at the top of the list are most to the 'background' of the screen while the ones at the bottom of the list are most to the 'front' of the screen. Placing an object on top of another one will make the other one inactive (in case of buttons) or invisible (in case of images) where they overlap .
The second step is to define the positions and sizes of objects on the screen as a proportion of the stage dimensions, as opposed to pixels. If we define sizes or positions in pixels, then they won't scale with the different screen sizes - if the screen isn't big enough, they'll simply get cut off. Instead, by expressing everything in terms of the stage dimensions, it doesn't actually matter how big the stage is - all of our objects will scale with it. Additionally, as the stage itself is guaranteed to be a consistent aspect ratio, our layout is guaranteed to stay consistent.
The naive way to do this is to express all sizes and positions in percentages. This works fine in theory, but is awkward in practice because we're working to a 4:3 ratio container, and so 10% in the X axis is different to 10% in the Y axis. We want something with a height of 10 and a width of 10 to actually be a square!
Instead, we work to a virtual grid. We take the 4:3 stage, and divide it up into squares - 24 across and 18 high:
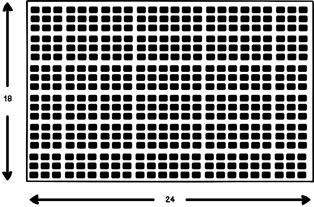
When you position and size objects, you do so on this virtual grid. The actual number of squares in the grid doesn't matter much - we chose 24 and 18 because they divide the screen up finely enough to lay things out without it becoming too fiddly. When you view your layout on different screen sizes, you can see that it scales uniformly:
By keeping to the grid, we can be sure that if two objects are placed side-by-side with a gap of one box between them, they will always be separated by a distance that is 1/24th of the total width of the stage - no matter how big or small the screen is. You can be confident that your task will lay out consistently on any screen size, even ones you haven't seen before!
There are some occasions where you really do want to express dimensions in absolute pixels, for example a vision task where it's essential to match the pixel sizes of stimuli to a previous study. To do this, you can use the Advanced Positioning component which allows you to express dimensions in pixels rather than using the grid. In this example, the image will always be shown as 200 x 200 pixels, regardless of the size of screen it's on:
Note that you can also use the Advanced Positioning component to express dimensions in percent of the screen dimensions, if this is more intuitive for you or if you are used to this method from Task Builder 1.